
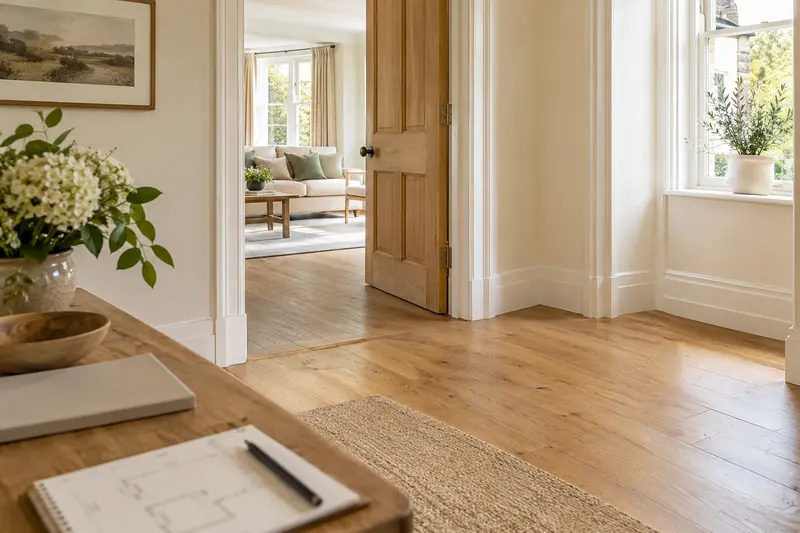
In brief
Trace every floor transition on the route to and from the proposed lift. Ask the installer to resolve entrance details alongside door movement and the mobility device. Do not add a loose ramp or alter a landing based on a generic online dimension.
IN THIS GUIDE
Record transitions beyond the lift footprint
Savaria describes a sloped entrance for its Luma, while its Multilift page discusses pit or access-ramp arrangements for particular configurations. These examples show that the entrance detail belongs to the selected system. Neither establishes a universal threshold solution for another doorway.
Photograph the proposed approach from a stable position and mark each change in level, floor material or doorway detail. Include the onward route at the destination. A lift can solve the main height change while a separate room transition still needs review. Keep observations preliminary until the relevant professional confirms the arrangement.
Ask how doors and devices interact
Record where doors swing, where the user approaches and which device is used in its normal configuration. Ask whether the entrance arrangement changes when the cab or platform is away from the landing. Include maintenance access and other household users in the discussion.
Do not prescribe a ramp slope, threshold height or fixing method from this checklist. Those details depend on the location, product, device and applicable requirements. Ask who designs and installs the proposed transition, and whether it changes the lift supplier’s approved arrangement. An inexpensive accessory is not useful if it creates another obstruction or interferes with a door.
Worked decision: the small strip before the entrance
Suppose a decorative flooring strip sits just before the proposed lift door. The household considers placing a loose wedge over it. Before buying anything, ask the installer and relevant flooring professional to review the transition together with the door swing and everyday device.
They may recommend retaining, removing or replacing the detail as part of the approved work. Record which trade handles it and how the finished entrance will be checked. Do not choose the wedge simply because its price is small. A low-cost product should solve a confirmed task, not conceal an unanswered design question.
Make a route obstruction photo checklist
Use the rows below for each transition and attach the provider’s reply. Give every photo a simple room-and-location label, keeping household identifying details private. Mark whether the transition is existing, proposed or created by new flooring, so responsibility is clear.
Loose clutter can be moved separately where appropriate; fixed transitions require review. Ask for the finished approach to be included in handover rather than inspecting only the moving equipment. An ordinary note and photo record can prevent an overlooked detail without buying a new device or speculative access product.
- LocationBoth lift entrances and onward room transitions.
- InteractionDoor movement, device approach and shared passage.
- ResponsibilityDesigner, installer and floor-finishing trade.
- ConfirmationAgreed detail and finished-route check at handover.
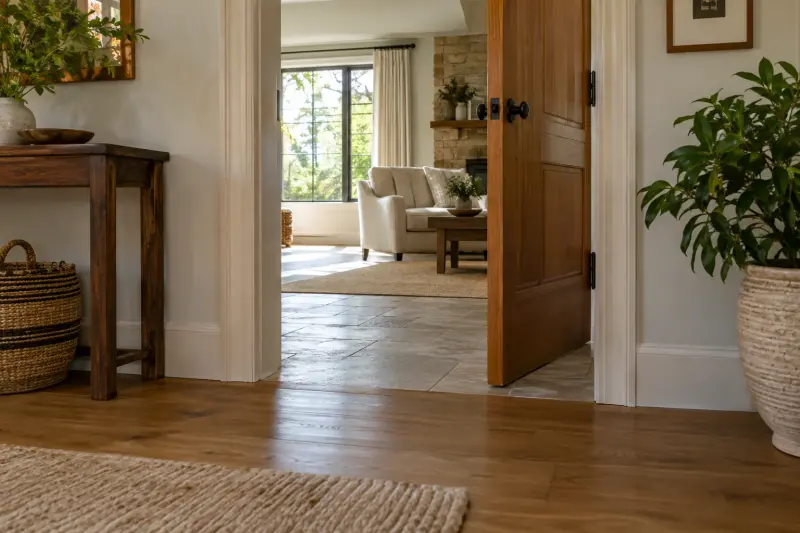
Map every transition along the complete journey
Draw a line from the origin room to the proposed lift and from the destination entrance to the room beyond. Mark each doorway, change of flooring and visible level change along those routes. Give every observation a simple label, such as hall-to-living-room strip or upper bedroom doorway. A lift may address the main change between floors while a separate transition remains part of the ordinary journey. The route map keeps that smaller task in the planning discussion.
Describe what you can observe without supplying your own design conclusion. A strip may be raised, a surface may change or a door may swing across an approach. Label uncertainty where you cannot tell how the proposed installation changes it. Do not lean into an awkward position or lift flooring to complete the record. A missing measurement can become a professional survey question. A confidently entered but unreliable number is less useful than a clearly identified gap.
Include the actual mobility device in its ordinary configuration where relevant to the assessed task. Ask the provider what information it needs about the device, without assuming that one nominal wheel width answers every transition. Consider the continuing route, not just the lift's clear opening. The device, door movement and room layout should be discussed together by the relevant professionals; this article supplies no universal ramp slope or threshold height.
Record other household use too. The same doorway may serve a cupboard, a laundry route or everyday passage when the lift is parked elsewhere. Describe those tasks in ordinary language. Moving loose belongings can be a separate housekeeping decision, while fixed details belong to the appropriate design review. Avoid treating a temporarily cleared photo as proof that the final approach will remain convenient in the ordinary home.
Finish the map with current, proposed or awaiting review beside each transition. This distinction becomes particularly useful during renovation. A new floor finish can create a question that did not appear in the first sketch. Share the current map with the provider and relevant flooring or building professional, asking who will resolve each detail. The purpose is a connected journey and defined responsibility rather than a shopping list of wedges purchased before the transition is understood.
Ask about the selected system’s entrance rather than a generic ramp
The lift entrance detail belongs to its specific configuration. Savaria describes a sloped entrance for Luma and pit or access-ramp arrangements among Multilift configurations. These narrow manufacturer examples show that there can be different approaches to a transition. They do not establish that a loose accessory reproduces the intended arrangement or that a detail from one product is suitable for another lift, doorway or mobility device.
Ask the provider to identify the entrance in the project documents. Which drawing shows the finished approach, door movement and adjacent flooring? Does the detail change with an ordered entrance option or the lift's position? Request an explanation in ordinary terms, linked to the actual configuration. A footprint drawing alone can omit the information needed for this question. Keep nominal brochure information labelled as preliminary rather than treating it as a finished-floor instruction.
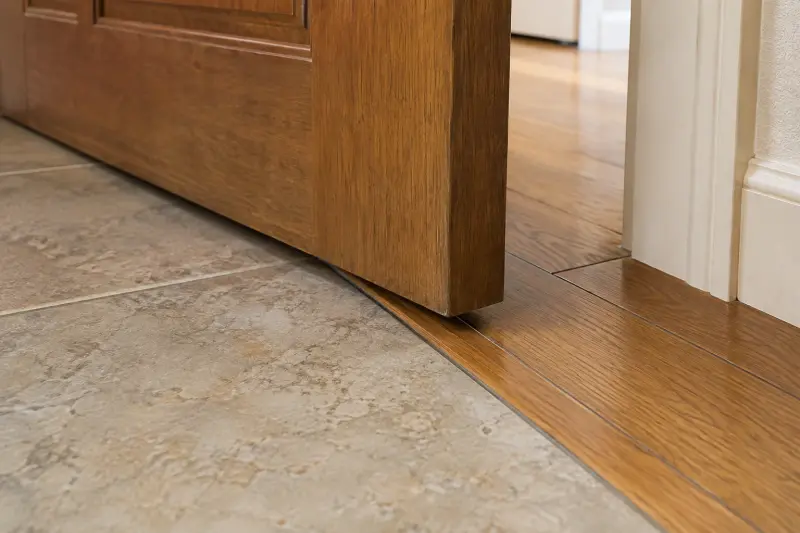
For a system with an entrance feature supplied as part of its installation, ask who confirms its relationship with surrounding floors. For a transition elsewhere on the room route, ask which trade designs and supplies the work and how the lift provider reviews any interaction with its equipment. Do not assume the last person to visit owns the task. The answer should give the household a responsibility and a relevant document, not merely say that the floor can be sorted later.
Ask about maintenance access and the equipment's movement boundaries. An item that appears to smooth an approach may obstruct an entrance, cover a relevant detail or interfere with the supplied configuration. Have the provider review the proposed work rather than trying an accessory to see whether the door still moves. This buying guide supplies no fixing or modification procedure. The appropriate project review should establish what may be changed and by whom.
Keep preference finishes separate from the required transition. A matching flooring strip may be visually attractive, but the professionals must explain its effect within the route. Conversely, a technically reviewed detail can still raise a household preference about appearance that deserves discussion. Ask for options within the approved proposal rather than altering it independently after handover. Good planning makes the practical task and decorative decision visible without allowing either to conceal the other.
Use a transition review worksheet with clear ownership
Create one row for each labelled transition on the route map. Start with location, observed detail, ordinary task, relevant door movement, proposed change and responsible party. Add a document reference and status. The worksheet should describe the household's question clearly enough for the relevant professionals to respond. It is not a design specification and should not ask the reader to certify that a floor transition meets a particular standard.
Use separate columns for existing and proposed conditions. A decorative strip already in the room differs from an entrance detail introduced by the lift or a new finish planned by another trade. Recording the distinction can clarify who needs to coordinate. If the proposed state is unknown, write awaiting project detail. Avoid drawing a preferred solution so definitively that a provider mistakes it for a household instruction to install an unreviewed accessory.
Ask for a joined-up response where two trades interact. For example, a lift provider may need to explain its entrance requirement while a flooring professional explains the adjacent finish. Record which drawing or specification they are using and who confirms the completed interface. Do not accept two unrelated assurances as if they establish the connection. The household needs to know that both parties are discussing the same current proposal.
Give unresolved items next actions. The action could be a revised entrance drawing, confirmation of the finished floor level or an appropriate review of the user's device task. Assign no suitability score yourself. Some questions are essential and cannot be offset by a good-looking finish or an inexpensive quotation. A status of unanswered should trigger the relevant response rather than an automatic recommendation to buy something.
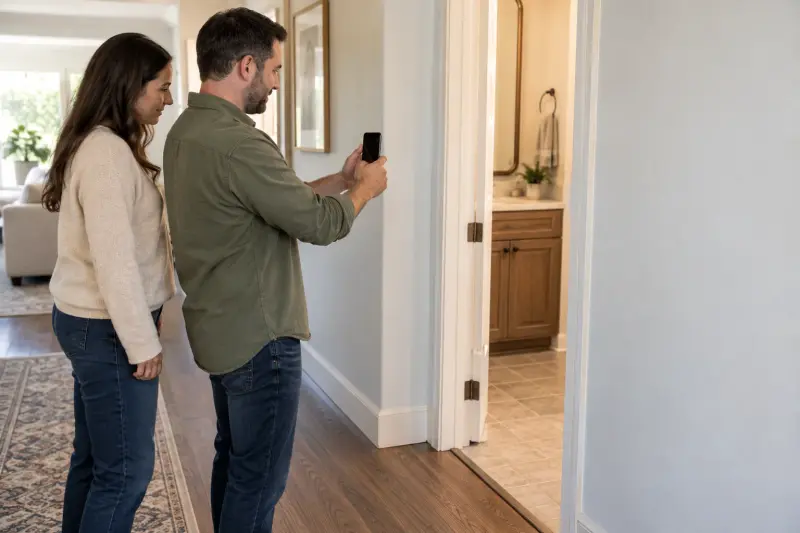
Keep the worksheet for handover and ask the provider how the finished approach will be discussed. Match the completed detail to the accepted documents and record any remaining question. Do not make your own approval based on visual inspection or a successful-looking photograph. The worksheet provides continuity from observation to professional response and household explanation. It can prevent a small detail being forgotten without requiring a specialized app or another measuring product.
- Location and conditionLabel the transition; distinguish existing from proposed.
- Task and movementDevice route, door swing, household passage, and relevant access.
- Proposal and responsibilityIdentify the trade and current project detail.
- Evidence and statusDrawing or professional answer; confirmed, provisional, or unanswered.
- Handover questionAsk how the completed interface will be explained.
Worked review: a decorative strip beside a new lift entrance
Imagine a fictional project where a raised decorative flooring strip sits just before the proposed lower entrance. The household notices it while reviewing the room sketch and considers buying a loose wedge. The article does not determine whether the strip is problematic or what solution is appropriate. The worked decision is to identify the route question and bring it into the project review before spending money or altering the approach.
The household labels the strip on its photo and sketch, noting the nearby door movement and actual device task. It asks the lift provider which drawing establishes the entrance detail and asks the relevant flooring professional about the existing finish. Both are given the same revision. The question becomes how the selected installation and surrounding floor meet, rather than whether a generic accessory has a low purchase price.
The professionals may explain that the detail can remain, be replaced or be addressed through another reviewed approach. The household records the actual response and who performs any work. It does not treat these hypothetical options as recommendations from our website. If a new finish changes the original proposal, the household asks for the relevant updated detail and scope, including any responsibility that was not part of the first quote.
Now consider the upstairs transition. A new bedroom finish is planned by another trade after the lift work. The household adds that future state to the worksheet instead of assuming the lower-floor response answers both levels. The provider is asked to explain how later work should be coordinated. A visually matching strip is not automatically appropriate merely because it repeats the downstairs appearance.
At handover, the household returns to both labelled transitions and the accepted responses. Any incomplete work is recorded with its responsible party and the provider's explanation of how it affects routine use. The result may involve a small finishing task, no change or another professional review. The important value is a documented interface. Buying the wedge first would not have supplied that evidence, even if it seemed an easy companion purchase.
Coordinate new flooring and later room changes
Tell the lift provider about floor finishes planned before, during or after installation. Identify the affected level and whether a different trade controls the work. Ask what information that trade needs and when the finished detail should be confirmed. The same room can have different floor conditions at survey and completion. A project record should connect those stages rather than assume an early photograph remains an accurate description forever.
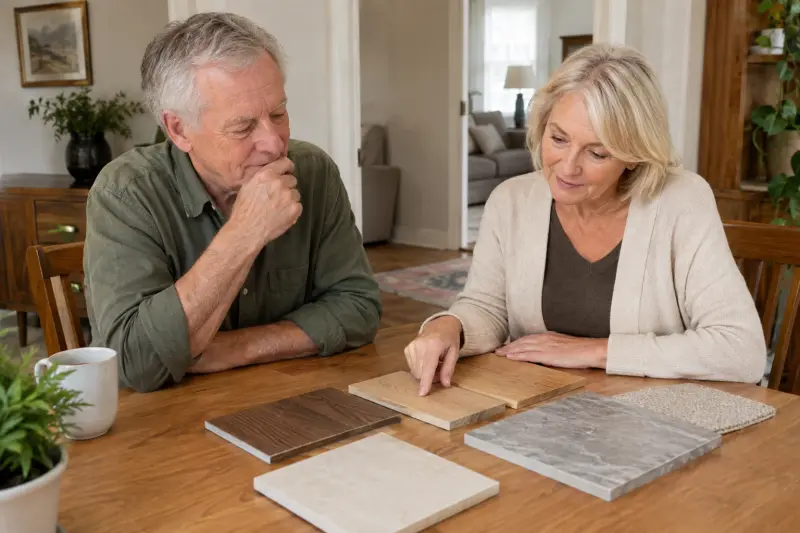
Keep samples and preference choices separate from technical confirmation. A flooring sample expresses material and appearance, while the provider and relevant professional establish its relationship with the entrance and room route. Do not order a thickness or trim arrangement based solely on a brochure dimension. Ask which current specification applies to the selected installation. This avoids turning a decorative choice into an unreviewed instruction affecting the equipment interface.
If the household later changes furniture or storage beside the approach, consider the whole route again. Moving a cabinet might change door movement or everyday passage even when the entrance itself is untouched. Ask appropriate advice where a change raises an equipment or personal-task question. A modest no-purchase rearrangement can answer a separate storage need, but it should not be used to conceal an unresolved fixed transition.
For cleaning and upkeep around the entrance, request the model instructions and relevant flooring guidance. Do not add a product that changes the surface or cover a detail without the appropriate review. This article does not recommend coatings, adhesives or modification techniques. Keep the household's routine linked to the supplied configuration and professional explanation, especially where another trade's finish meets equipment maintained by the lift provider.
Record later changes with a date and the relevant answer. Update the route map if a new floor or doorway arrangement is accepted. Keep private photographs where the household can retrieve them, with neutral location labels that make sense to another helper. The aim is an understandable history of the approach, not a public archive of home layouts. Clear records can make a future conversation more precise without claiming a household worksheet certifies ongoing suitability.
Questions readers ask about thresholds near home lifts
Can I put a small ramp beside the lift?
Ask the provider and relevant professional to review the actual transition, entrance movement, device and surrounding route before choosing an accessory. This guide gives no universal ramp specification or fixing method. A low-priced item is useful only when it answers a confirmed task and does not interfere with the supplied configuration or another household activity.
Does a level lift entrance solve every doorway?
The main height change and other room transitions are separate questions. Map the origin route, entrance, arrival and onward route, marking each observed change. Ask the relevant professionals to address the actual details. A lift's nominal entrance description cannot establish the condition of a bedroom strip or another doorway beyond its footprint.
Should I remove the existing flooring strip?
Record it as an observation and request the appropriate review. Do not infer a removal instruction from this worksheet or from another installation's photograph. The professionals should explain whether it remains, changes or requires another approach within the accepted project. Keep the responsible trade and document beside the decision so the task is not left to an assumption.
What if new flooring is fitted after installation?
Tell the lift provider and flooring professional what is planned and ask how the interface should be coordinated. Use the current model and project details, with any later change recorded. A decorative sample does not establish a finished threshold arrangement. Request an updated response where the proposed floor changes the entrance or continuing journey.
Who checks the completed approach? Ask how the provider and relevant trades address the accepted detail during completion and handover. Your household record can identify outstanding questions but does not replace their professional responsibilities. Keep an unresolved approach distinct from a cosmetic finishing item through the responsible explanation. Do not declare the route approved solely because it looks tidy in a photograph.
What can I do without buying anything?
Label the transitions, organize existing sketches and explain ordinary door and storage use. Move loose clutter where appropriate as a separate household task. Keep fixed details for the relevant review. A plain photo checklist and shared current plan can prevent an overlooked question more effectively than buying a wedge or measuring gadget before the installation is understood.
MAKE THE SPEND MEANINGFUL
Before adding to the basket.
- Move unnecessary loose items from the route.
- Ask whether existing floor detailing can be corrected within the agreed work before buying an add-on.
How this guide was prepared
AI-assisted editorial research, checked against the linked primary sources. Product testing and a credentialed individual review are not claimed.
source-checked editorial; no hands-on testing or expert suitability assessment claimed
How we use sources and AI assistance ↗Sources & fact checks
The guide separates sourced facts from editorial questions and examples. We have not claimed hands-on product testing. How we use sources and AI assistance.
Found an error or an outdated detail? Contact the editorial team.